Valentine Marshmallows: In the Kitchen with Kids
Guest blog by Sara Alexander
I have loved being in the kitchen since I was a little girl. My mom was that mom, you know, the one who showed up in the car rider line with a Tupperware container of homemade cookies in tow. All of my friends loved coming over to my house after school knowing that my Mom would be waiting with homemade goodies and a compassionate, listening ear.
Whether it was my desire to be with my Mom or simply my love for cookies, I spent countless hours underfoot, watching, listening, and learning to be comfortable in the kitchen. She taught me how to accurately measure flour, whisk eggs correctly and carefully coat a pan so her prized pound cake would release without crumbling. She also taught me that taking food to a grieving family or a sick friend was a powerful way to show love.
My Mom probably never realized all of the lessons she taught me in her kitchen, but now I want to share them with my children. Baking with children is not for the faint of heart. It requires the ability to laugh when flour goes flying, patience when egg shells fall into the bowl and lots of grace for yourself and your kids. There have been plenty of times when I have failed, but as my Mom showed me over and over, it is totally worth the dirty dishes and sticky hands.
Welcome to our adventure, aprons are required.
Valentine’s Day Marshmallows
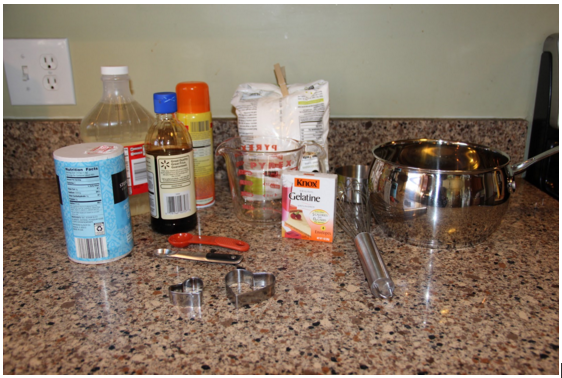
Here’s what you will need:
- 3 packages of ¼ ounce each Gelatin
- 1 ¼ Cup of Sugar
- 1 ¼ Cup of Corn Syrup
- ⅛ teaspoon Salt
- 1 Cup Water
- 2 t. Vanilla
- Powdered sugar and cornstarch
- Red food coloring (if using), sprinkles, crushed peppermint, and melted chocolate for toppings.
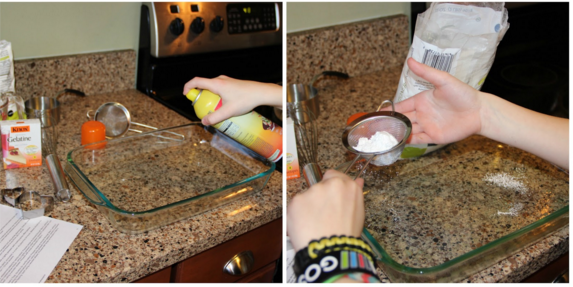
Begin by having your child prepare a 9×13 inch glass baking dish with cooking spray. Next, lightly sprinkle powdered sugar on the bottom and sides of the dish. Set dish aside.
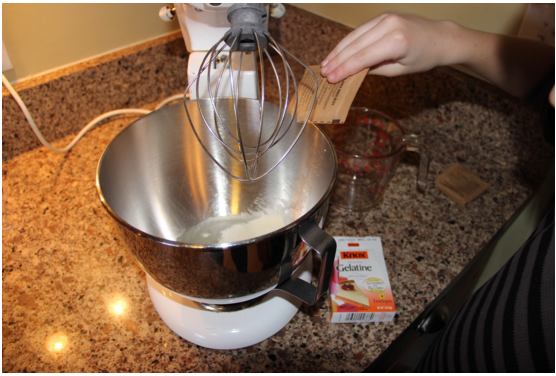
Next, have your child pour 3 packages of gelatin into the bowl of an electric mixer fitted with a whisk. Measure ½ cup of cold water and pour it over the gelatin. Stir with a spoon and leave alone while working on the next step. (Just a side note – google “gelatin” with your kids later, perhaps after they’ve enjoyed these yummy marshmallows. (Learning about our foods can be very interesting!)
The next step is for grownups or older children with supervision. Remind younger children to stay back from the stove.
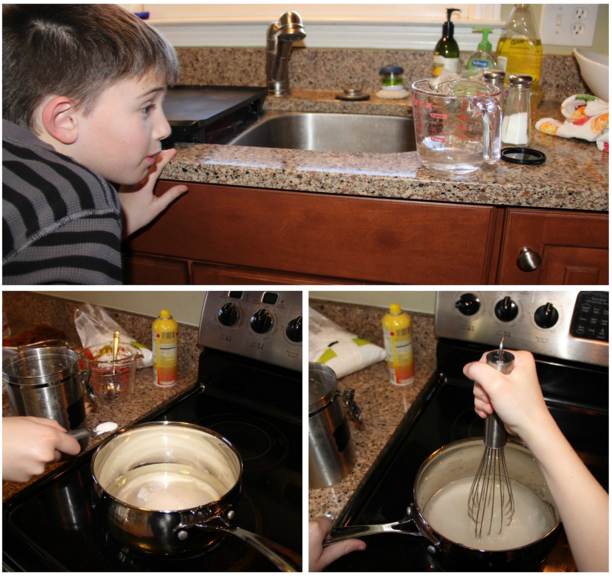
Begin by pouring water, sugar, corn syrup and salt into a deep, 3 quart pot. Measuring liquids are a great opportunity for kids to practice their math skills! Just like solving an equation, each step is important and must be followed exactly. Turn the burner to medium high heat and stir occasionally. After the sugar dissolves, turn the heat up slightly to bring mixture to a boil. My 10-year old did this entire step on his own with me watching over his shoulder. Once the mixture has boiled for 2-3 minutes, carefully pour it into the softened gelatin. (Note: Pouring the hot liquid should be completed by an adult).
After pouring the hot liquid into the mixer, turn it on to a slow speed for 1 minute, then increase the speed to medium high and whisk for 6-9 minutes, or until the mixture is smooth and thick and the bowl feels lukewarm. While the mixer is mixing, combine equal parts of powdered sugar and cornstarch in a small bowl. Set aside to later dust over marshmallows. Once your mixture is thick, stir in vanilla and food coloring (if using).
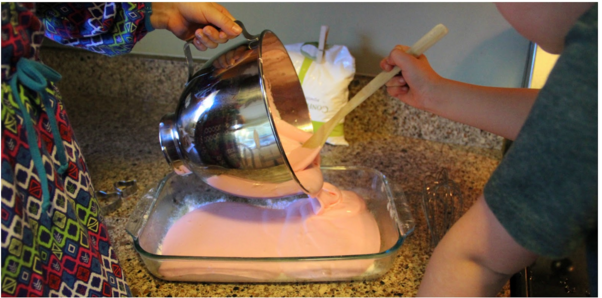
Working quickly, pour the rich, luscious marshmallow fluff into the prepared dish. Using a spoon or a sieve, dust the powdered sugar/cornstarch mixture over the top of the marshmallows. This step is super fun for eager young kids who’ve been waiting their turn to help. Once the top is covered, smooth plastic wrap directly onto the marshmallows to keep the air out and place the dish aside to set overnight.
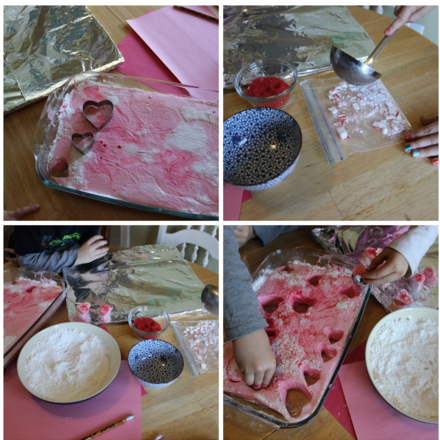
Now that your marshmallows have set out over night, remove the plastic wrap and use a cookie cutter or knife to divide into individual marshmallows. My kids took turns using a small heart shaped cookie cutter. Dipping the knife or cutter into powdered sugar will help it cut smoothly.
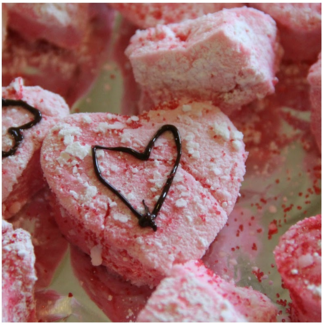
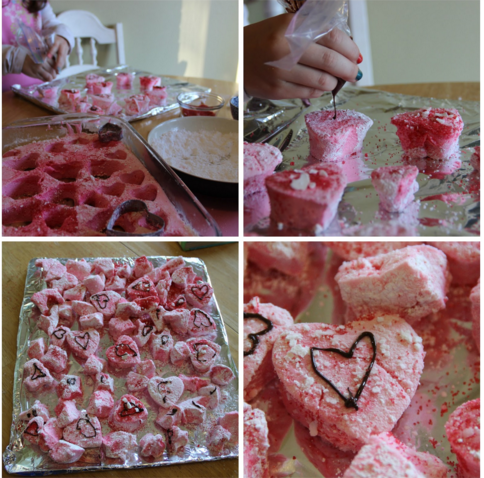
Now it’s time to decorate. My kids had lots of fun adding the red sprinkles, crushed peppermint and melted chocolate. We also rolled the marshmallows in the powdered sugar/cornstarch mixture to counter the stickiness. The cornstarch will help prevent the marshmallows from “sweating”.
As you can see, our marshmallows did not turn out “Pinterest perfect”, but we all had so much fun making them!
*My recipe was adapted from two recipes I found online Homemade Heart Marshmallows and Our Best Homemade Marshmallows.

